After that, set it aside for a few minutes to allow any other bubbles to surface while you do the same to the other leg.
Once you're back to it - follow the instructions as per previous link to insert the base valve (compression assembly). When its ready to go together it will look like this.
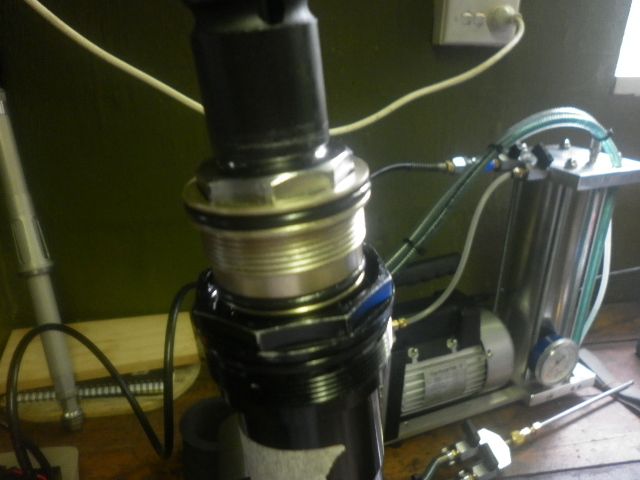
You then need push it down and engage the threads before snugging it up.
I have both carts bled at the moment and no more pics, but will perhaps take a couple more tomorrow. When bleeding, make sure the cartridge is upright so it can vent the air/oil through the center of the piston. I've also found assembling with PFP at 0 (full out) is easiest for getting things back together. I then find the additional pressure created by turning the PFP fully in helps with the purging.
When both are completed, set the clickers at the same position (or your specs) and then cycle them side by side. Both should feel the same when compressing, and rebound at the same speed.
Parts have arrived, so next additions will be measuring spring preload, changing seals, and fitting the carts back into the legs. Easy as!